How to build a high end recording studio on a low budget
As the CEO of my own music production company, I have gained a lot of experience in recording studios and building these while on a budget. After all, the studio that I built didn’t just fall into my hands. Ever since I started getting into music when I was a kid, I dreamed of having my own workplace. Where I could visualize my dream. I spent a lot of years and money on realizing that plan. In this blog I will tell you in just a few steps how I did it and how you too can realize this dream. And the best part about it? I will tell you how you can do it if you’re on a budget as well.
What you should know and do
Plan everything
Building without a plan is like cooking something new without a recipe. With this thought in mind, I didn’t start building my studio right away. Matter of fact, I didn’t start building directly at all. I worked at four other music studios in Utrecht, Madrid, London and the Hague before I started to realize this post-production studio. I learned a lot in my time there. This was important for me. Starting off being in a professional environment, before I started hopelessly experiencing by myself, has helped me with making my own goal more realistic. I gained experience and got inspired by the places I visited. In London for instance, I visited Abbey Road, Air, The strong Room and manny others.
Since I am a perfectionist, this learning process did take a couple of years. Luckily for you, I am willing to share the knowledge I gained in my experience. This will save you some time and effort I had to put into it. Just get to the end of this blog and the knowledge will also be yours.
Know where to go
It is important to remember that having the most expensive materials, won’t get you more jobs. It’s the quality that you can produce with the resources you have that will help your brand. I have made music for a lot of different projects, which I produced with samples that I also saved money on. The most efficient way of saving money is buying something at the right time and doing research. For example Black Friday Sales. These don’t just apply to clothing and a new TV. Things like software are also available against very low prices on that day. The same can also be said about things like instruments, desks, stereo’s and a lot more. So, before you click on that order button, first make sure that this is your best option. All it takes is a little patience and you will save a lot of money. I bought the fabrics for my studio in a little shop that only sells to business. My secondhand movie seats came from a company that installs new seats in movie theaters. Most of my synths come from marktplaats.nl and most of the decoration is found in Dutch pawn shops! We also sell some of our stuff now on marktplaats.nlwhich means we do get some of our money back as well.
I did a lot of work looking for the right instruments as well. I decided to travel abroad in order to find them. For the perfect sound, and for the perfect price. I collected a Spanish laud during my time in Madrid, a Turkish saz in Istanbul during my visit and traveled to Dublin to get the best deal on a Mandolin. It took time and effort, but the outcomes are definitely worth it considering I still use these instruments to this day.
Don’t have the means to travel so much? No problem. There are a lot of possibilities online. I for example bought a big road case containing electrical equipment. Besides having the equipment, I also got to keep the box, which was great for the containment of my foley materials. The double purpose of something is a great way to save money as well.
I got a few more materials to help achieve that. You can read more about this sphere in step four of this blog.
How we did it
Step one – deciding the look
Finding the place
After I came up with the concept I wanted the studio to portray, I started to put the plan in action. I began by deciding where I wanted my studio to be. This decision was made very quick. I wanted to be in the place to be. I decided to be located in the center of the Netherlands, the city of Utrecht. I knew that I wanted a space in this city because there are so many creative people and places here and Amsterdam is very crowded and focused on brands and commercials. Utrecht has its canals too but also the Dutch Film Festival!


Deciding the vibe

Before deciding on the final look I collected pictures of other studio’s from magazines and put them in my scratch book.One of the
most important things I wanted to have in my studio is a good atmosphere. I wanted it to be professional
and yet not still and boring. And I found that an easy way to give the space you’re building in an interesting and yet
comfortable look is by using vintage objects. I’ve personally always had a thing for vintage. The materials are really
great eye catchers and besides that, it’s not expensive to get. You can read more about how I incorporated vintage in
my studio in step four as well.
Planning the space

Once the place and the vibe were decided, I started figuring out what I could do with the place. There’s a website that really worked out for me called floorplanner.com! You canvisualize the plan that’s in your head with such ease, and besides that, the first two tries are for free. So if you’re as hectic as I am and want to save money on floorplans as well, I would definitely recommend this website.

Keeping it simple, avoiding uselessness
Perfection is having the best quality there is. Not having the most stuff or having your stuff be the most expensive. Like I implied earlier, I have made soundtracks for over 60 projects including Feature films, crime scene TV music and commercials for companies like McDonalds. All in my own studio. And I started with a Apple mac Pro, Logic Studio a few mic’s, some sample libraries and my guitar. This goes to show if you would have a look in my studio today. Besides extras to give the studio a nice feeling, it is filled with necessary essentials, for me to do my job. It also helps to have a concept in mind. I wanted to make a studio where there was a nice atmosphere and with a modular setup so I could not only handle music recording sessions but also foley and ADR. So I got the necessary objects to do so, and that was enough for the vision.
Step two – Getting everyone involved

People who have always supported me in my music career were my parents. After all, they are the ones who bought me my first guitar when I was eleven. This is what got me into music in the first place. I am thankful to say that they still continue to support me until this day. My father helped me to make the studio. He already had certain experience in building and in business. With his experience, he helped me making the right decisions. Not saying that you can only build your own low budget studio if your father has experience in business. But if you want to make sure you make the right decisions while starting your own business, I advise you to find someone who understands that world. There are also people you can pay to advise you. Then just look up ‘Business Consultant’ on the internet and find someone you seem fit! I also had help refining my business plan.

To this day, I surround myself with people helping to envision my dream. I make sure thatthe people I work with are hardworking, non-complaining and driven workers and friends.Having people around you with a certain expertise that can help you make the best of your studio, is one of the most important things you can have to be as big as you can be. Now, of course it is possible to do everything alone, but definitely consider how the people in your life can help you. You will quickly notice that having people help you, will motivate you, teach you and make you happy when things get rough. And they will. Building is hard work!
Step three – Deciding the materials
Building the company


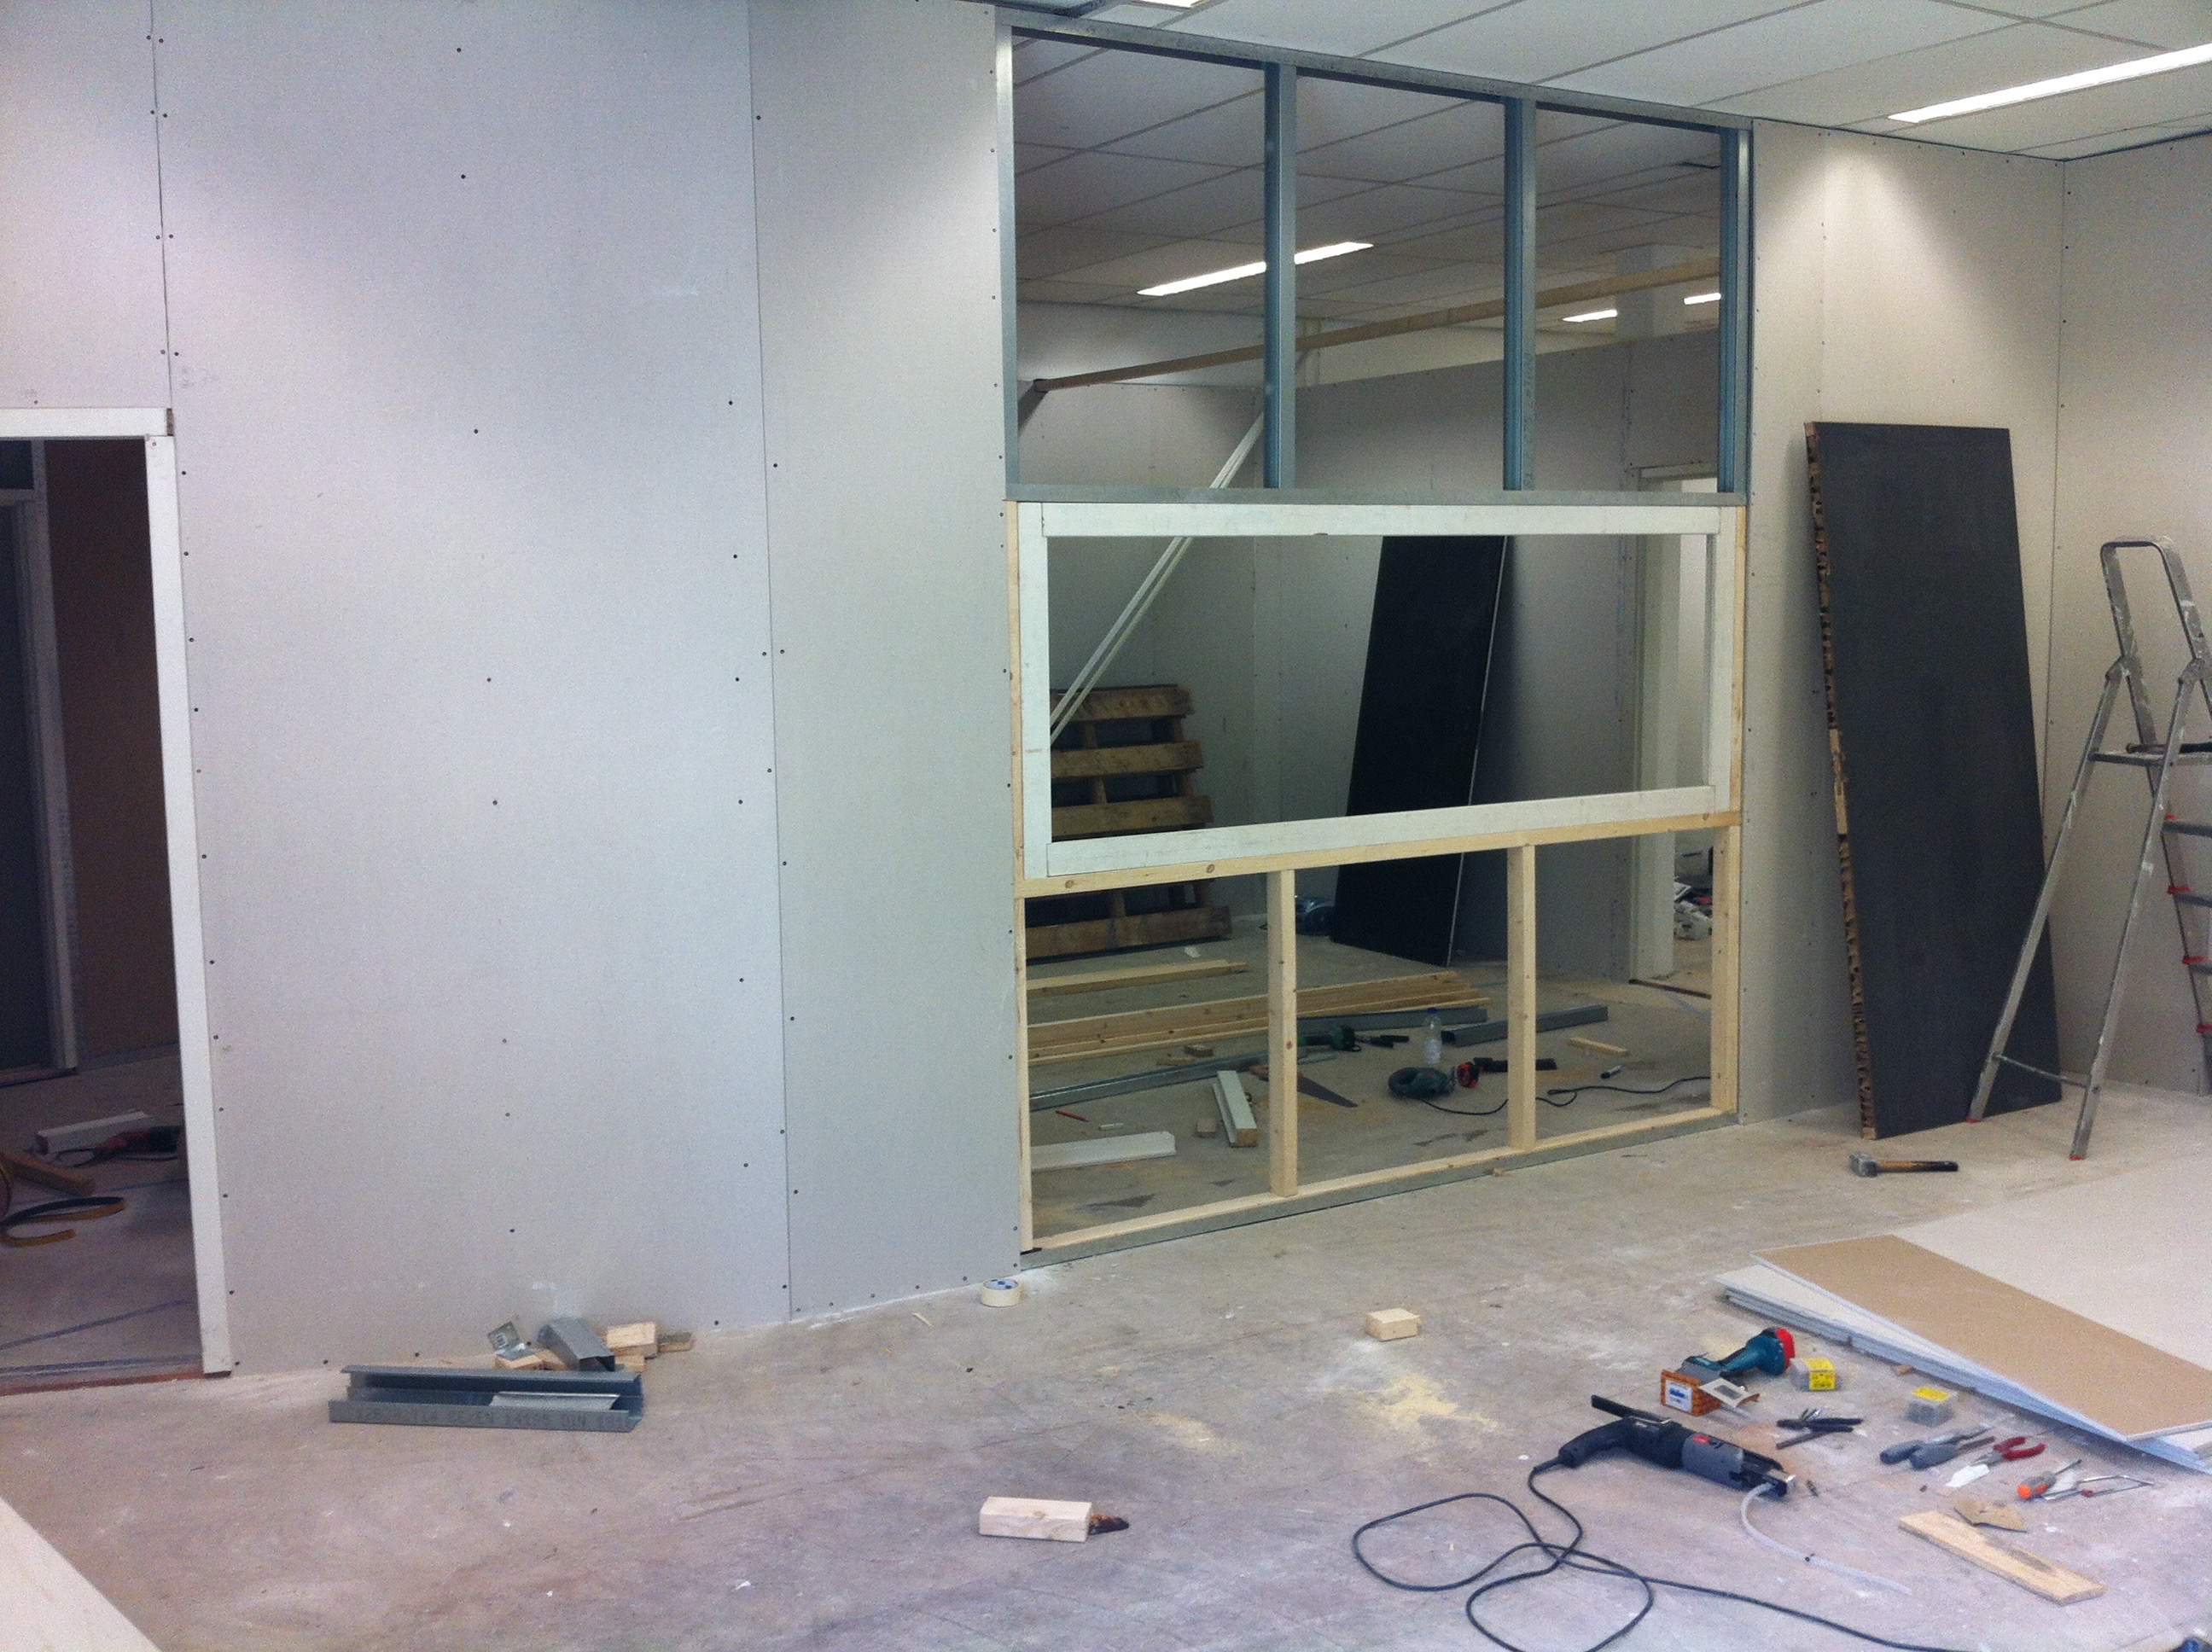
Now, how did we build it. We started by getting essentials for music studio standards. At first, we collected what we needed and put them in the space, as you can see on the pictures. Then we started putting up the walls with essential material such as rockwool, metal U channel, placeholders and plasterboard. A lot of plasterboard, which we ended up buying at Knauf insulation, which is an international company. We compared the prices for these materials online to make sure we got the best deal. We also went to the cheapest (but still with some of the best quality) stores for the installationtools of all these materials. After this we could start putting in the floor. This was a tough process since there are so many options to choose from and besides that, this was a great way to save money if you found one for the right price, so we had to be really carefull while making this choice. We ended up putting in a parquet floor with timer yard. We also built in a window between the studio and the mixing room. This is not just glass you can find in someones house. It is speciall layered glass with an insulating layer, which we put on last.


Step four– filling the rooms

Now that we had our base set up ready, we could start filling the space. We used a couple of materials I already had in my possession. For example on the back wall of the studio you will find a painting of a woman’s face. This, and some other paintings here were made by my mother! I also re-used a lot of stuff from my own past in this studio. For the studio geeks, the flat services of the paintings scatter sound waves that we combine with self build absorbers.
The idea of having eye catchers in general is a good idea, since this will prevent the space from looking empty while not having it filled up with too much stuff. I for example used a certain type of red velvet to contribute a total look for my studio (inspired by Hans Zimmer). I applied this color to all of the walls and I can honestly say that this really makes the look of the studio. See the results for yourself! Best part is, it does help in absorbing some high frequencies too.


We decided to give the studio a calmer look, since playing an instrument does require a lot of focus. This is why we put the timber yard floor in and decided to put dark grey industrial on the walls.

After that we started carpeting the floors of the office space and we put up the same red velvet color fabric up on the walls. We decided that painting these walls would be more fitting for the professional sphere that the room represents. We did want to give this space a nice feeling as well which is why it nowadays has a lot of attributes hanging on the walls. Including posters of two of my favorite movies ‘Lord of the Rings’ and ‘Star Wars’.

Bringing the big guns

Besides all of the vintage here, you will find another, even greater eye catcher which you haveprobably already noticed on the featured image. This one was so important to me that I actually built a lot of the stuff in the studio, so that it would practically fit this item. This is a giant projector screen on the back wall of the studio. This was built to order, and a big part of the budget. We also thought regular chairs were a bit overrated, so we decided to place an eight piece of cinema chairs facing this screen. These items were specifically placed for a couple of reasons. One of which we have already discussed, the atmosphere that comes with it. Here at our studio we sometimes all gather to watch one of the projects we made together. This screen, our dolby 5.1 surround speaker setup and these cinema chairs really help with the total package feeling when film directors have to evaluate the finalmix and music. We also have meetings in this room, making those as comfortable as we can. Another reason why the screen really helps is because post-production is a very detailed process. It requires a lot of attention to the details, which turned out to be a lot easier to do with such an emphasize in height of the screen. This is one of the things that make us stand out as a company. Which is why this all makes it so that these purchases weren’t only affordable because it doesn’t require a lot of equipment, but also very much worth the cost.
Finishing touches


We also live in a decade where DIY’s are on the rising. I am proud to say that I might be one of the trendsetters here, since I designed and made my very own desk. This type of desk would usually cost around € 2400,- and it would still not be exactly what I need. By making it myself, I not only saved money, but the desk is also right up to what I needed and fitting for this room. So definitely look out for DIY stuff, and don’t underestimate yourself! Here is a great Forum to learn more tips!For this desk in particular, I used MDF timber. I painted this black and made two separate spaces at the backends of the desk for equipment. I also put in subwoofer stereo boxes. Also the .1 from our 5.1 system also known as the LFE channel (Low Freq Efects). The one seen on the photo is the cheaper version of the KRK from Germany. This saved money as well. I bought a lot of red chairs as well, to fit in the theme of the studio. Besides all of this I bought officesupplies and brought a big collection of DVD’s. Which makes the space even more professional and personal. Both in once.


Step six – start realising the dream


And with that, my vision came to life! I am thankful to say that I get to do what I love to do every day. Sitting in my own studio and making music and sound-design for films, TV and games. This has been my dream ever since I was a young boy. And because of all the hard work I put in, I was able to realize that dream. I have been working in this studio for over three years now, and every day I go to work excited for the day and what it has in store. Are you interested in making your own studio, or maybe you already have your own company and are interested in meeting, contact us! We have free coffee that you can enjoy while sitting in our comfortable seats, while listening to our tracks.
Comments